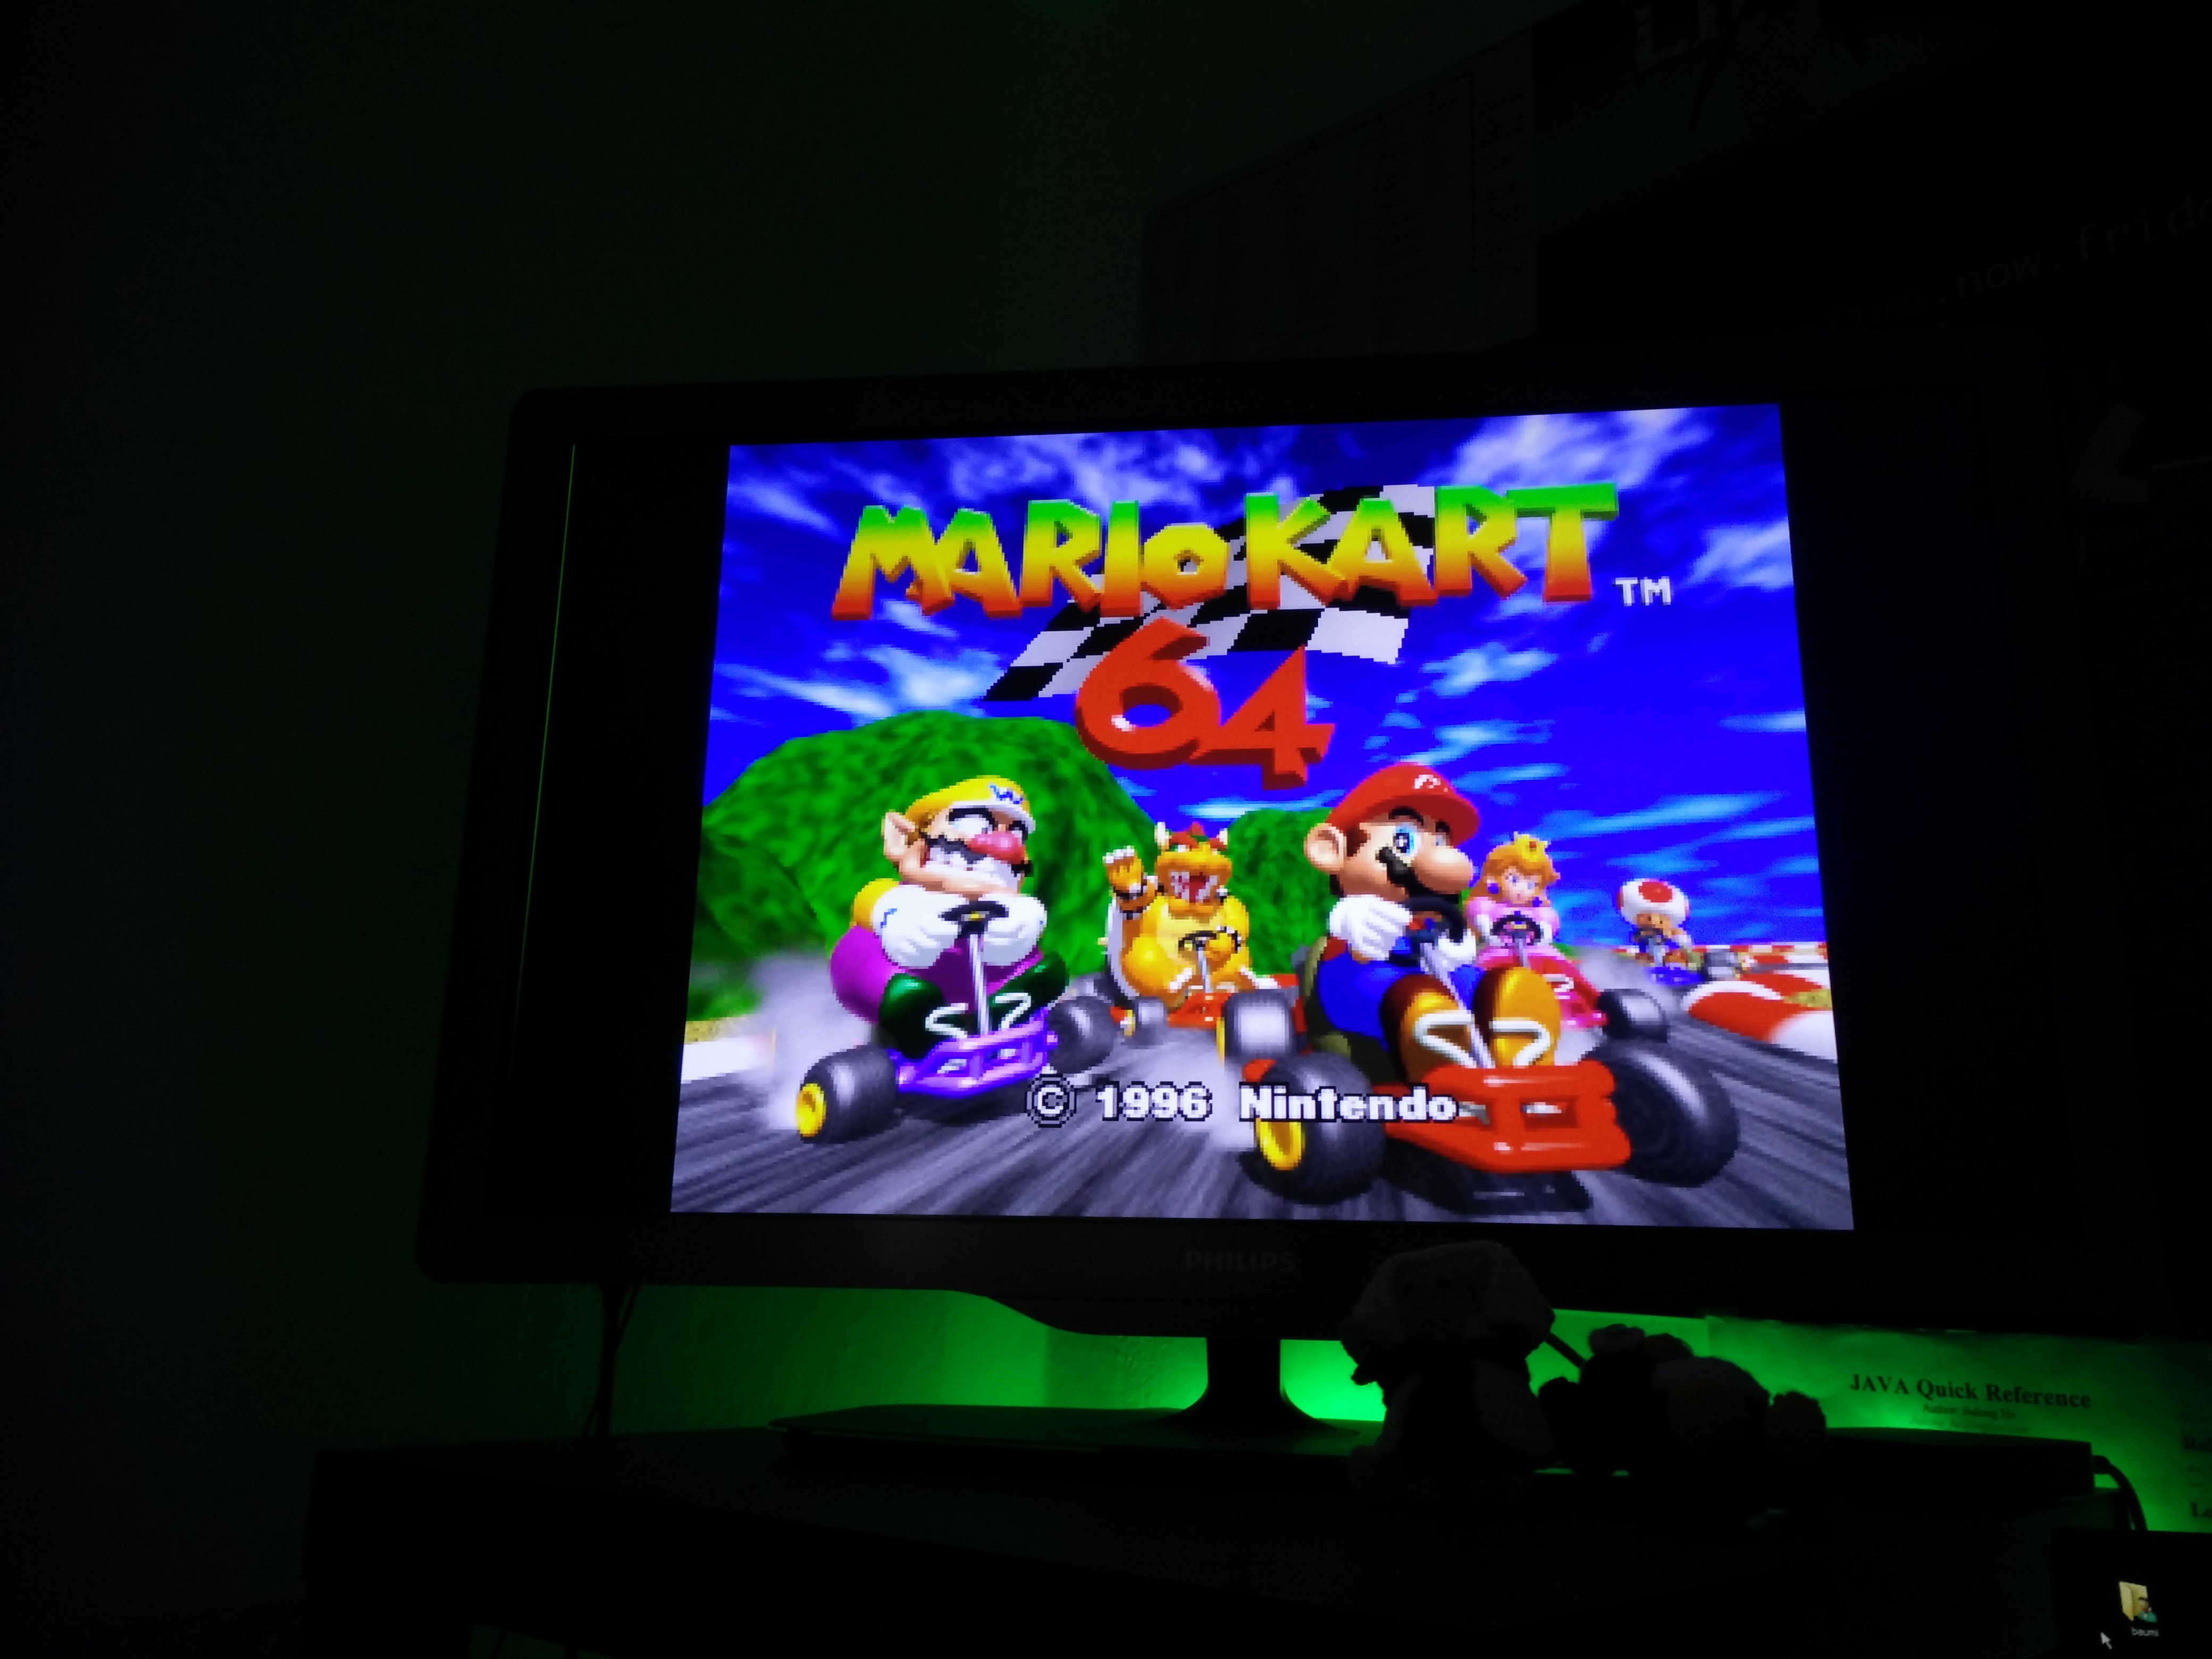
It’s has been a long time since I had time for some useful and useless stuff. So we (isticktoit) found some useless stuff on Heise open: A Linux Retro-Gaming distribution and thought about bringing some old stuff up to ‘waste’ some hours.
4:3 on a FullHD TV and pixels
In this case I tried the new release of the Lakka distribution, which is mostly for Retro/Emulator-Gaming. It contains a lot of emulators from Atari up to PlayStation and Nintendo.
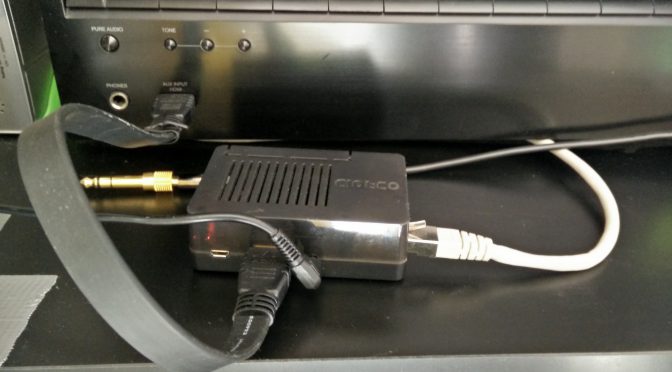
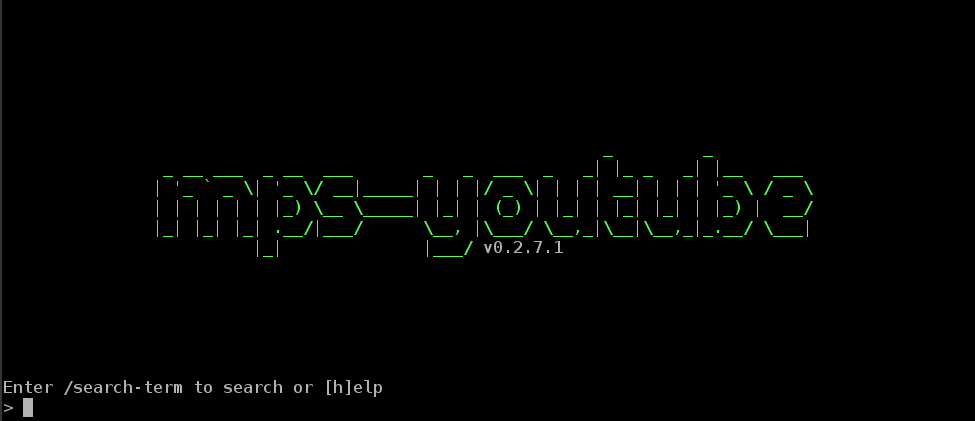
Have you ever played or streamed sound controlled in a command line? I myself play & stream every sound controlled through command line interface. To achieve that I use an odroid c2 connected to my av-receiver.
Ich hatte wieder ein Problem und zwar war es dieses mal so, dass mein VMware vSphere Hyperviser (ESXi) oder mein XENServer keine WLAN-USB-Sticks unterstützen – ich aber aufgrund der Wohnung keine Möglichkeit für eine Verkabelung habe.
Lösung: Odroid U3 oder Raspberry Pi mit einem Linux…
Ich verwende einen Odroid mit Ubuntu und einen TP-Link Wlan-Stick (TL-WN722N Atheros-Chip AR9271). Der Odroid fungiert dabei als DNS-Server für die lokale Namensauflösung, als DHCP-Server und als Gateway später auch noch als Backup-Server für einen anderen Server Odroid als Router für ein eigenes Netzwerk weiterlesen →
Sometimes the xz-compressed image from http://odroid.in/fedora-20/ is too small when extracted – mostly around 192MB (e.g. extracting it with ARK). This image won’t work!
Solution: Extract the downloaded xz-file with the command-line xz-tool:
xz -d FILE
Afterwards just copy the image with dd to your SD-Card.
Livestreams often use Adobe’s Flash format and Shockwave Flash-Players to supply live content to their users. To play them on a machine that hasn’t flash installed, many pipe rtmpdump’s output to their favourite media player, making integration into home cinema systems complicated. If the URL of the stream you watch regularly does not change (e.g. a TV station’s official livefeed), you can easily play this in XBMC.
Some words on how to install Android on your Odroid-U3 using Linux:
Download the Image from http://dn.odroid.com/4412/Android/
Extract the ZIP-File with your GUI-ZIP-Tool or in Command-Line
Prepare the Micro-SD (USB-Card Reader with your SD)
Clear your SD with dd first: dd if=/dev/zero of=/dev/sdX bs=4M (Depending on the size of your SD, this action can take a lot of time…)
Now we flash the image on the SD-Card: sudo dd if=image.img of=/dev/sdX bs=4M
To safely remove the SD: sync
Now we insert the SD into our Odroid-U3 and first boot will proceed – and it will take some minutes (with black screen) !!! (Anyways At the first booting, the self-installing will take about 1~2 minutes. While installation, the blue LED is blinking and fan is running. The blue-LED will turn off after installation. Turn on again and enjoy.)
If you don’t get an image via HDMI on your TFT/TV, sometimes it’s because of a wrong setting… and if you can’t connect to your Odroid with SSH (to run odroid-config), you have got a problem but just a small one.
Put the SD in a Card-Reader and connect it to a Linux-PC.
The first partition, a fat partition will have a file named boot-auto.scr copy it to boot.scr (replace the old boot.scr there)
Now your little gadget should boot with an image on your screen