original by jsmith7342, cc by-sa, others cc0/PD
Hi, Hackaday! 😀
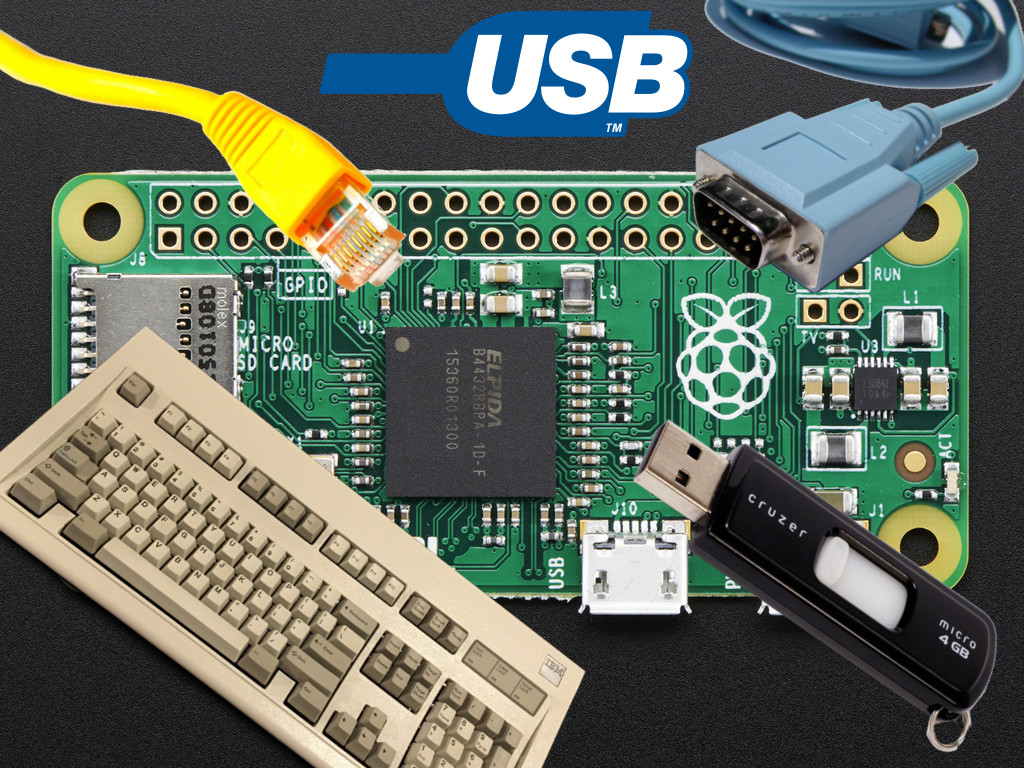
Want your Pi Zero to emulate a keyboard, ethernet adapter, serial device, mass storage, and many more at the same time? This tutorial is for you!
The Pi Zero is all the rage – and I too am working on a Zero-based project.
[LadyAda] and [gbaman] both have written tutorials on the old series of drivers, g_{hid,ether,serial,*}. Those are not flexible at all, only allow for one loaded at each time and in case of the hid-gadget even require you to modify and recompile the kernel module.
LibComposite solves those problems by putting the configuration into userland (ConfigFS).
Keep in mind though, that at the time of writing, no windows drivers are available – you need to use Linux or Mac OS X to connect to your Pi this way.
Step 0 – configuring the SD card
Download and install the latest Raspbian Jessie onto a suitably large SD card, and expand the root partition. This has been described enough already, so I’ll just link you to the guide on Adafruit!
Step 1 – Kernel stuff
We need to use the 4.4 Kernel, which is currently (Feb. 2016) not installed on the default Raspbian image. But upgrading is easy: just run
sudo BRANCH=next rpi-update
(the ‘$’ indicates this should be typed into the shell – don’t try to copy it)
Now, we need to enable a special “device tree overlay”:
echo "dtoverlay=dwc2" | sudo tee -a /boot/config.txt

echo "dwc2" | sudo tee -a /etc/modules
Finally, we need to enable the libcomposite driver by running:
sudo echo "libcomposite" | sudo tee -a /etc/modules
Step 2 – Configuring the gadget(s)
Now you have to define, what you want your gadget to do – just want ethernet? a keyboard? all of the above?
Configuring is done via ConfigFS, a virtual file system in /sys/. It is automatically mounted on the Pi on startup, so we can dig right in.
For a gadget called ‘USBArmory’, a nice starting point exists, on which I will base the rest of this tutorial.
Create the config script
The configuration is volatile, so it must be run on each startup.
Create a file isticktoit_usb in /usr/bin/ using your favourite text editor. Type the following:
sudo touch /usr/bin/isticktoit_usb #create the file

sudo chmod +x /usr/bin/isticktoit_usb #make it executable

sudo nano /usr/bin/isticktoit_usb #edit the file
Afterwards, you need to run this script automatically at startup. For best performance, you can create a systemd unit file, but for now, we’ll stick to rc.local. (this is part of the old sysvinit system, but is still executed on the pi by default)
Open /etc/rc.local as root and add the following line before(!!!!) the line containing the word ‘exit’.
sudo nano /etc/rc.local

/etc/rc.local...

/usr/bin/isticktoit_usb # libcomposite configuration

exit
Creating the gadget
This is the global configuration; so it does not matter how many USB features your Pi will use.
Feel free to change serial number, manufacturer and product name in this block.
/usr/bin/isticktoit_usb#!/bin/bash

cd /sys/kernel/config/usb_gadget/

mkdir -p isticktoit

cd isticktoit

echo 0x1d6b > idVendor # Linux Foundation

echo 0x0104 > idProduct # Multifunction Composite Gadget

echo 0x0100 > bcdDevice # v1.0.0

echo 0x0200 > bcdUSB # USB2

mkdir -p strings/0x409

echo "fedcba9876543210" > strings/0x409/serialnumber

echo "Tobias Girstmair" > strings/0x409/manufacturer

echo "iSticktoit.net USB Device" > strings/0x409/product

mkdir -p configs/c.1/strings/0x409

echo "Config 1: ECM network" > configs/c.1/strings/0x409/configuration

echo 250 > configs/c.1/MaxPower

# Add functions here

 # see gadget configurations below

# End functions

ls /sys/class/udc > UDC
Now scroll down to the headings that interest you and configure those functions 😉
A full example can be found at my hardpass repository – here
Serial Adapter
This is quite useful for debugging and is the easiest to setup.
to our config-file insert the following between the ‘functions’ comments:
/usr/bin/isticktoit_usb# Add functions here

mkdir -p functions/acm.usb0

ln -s functions/acm.usb0 configs/c.1/

# End functions
Then, enable a console on the USB serial:
sudo systemctl enable getty@ttyGS0.service
To connect to your Pi on a Linux computer, make sure screen is installed (sudo apt-get install screen) and then run:
sudo screen /dev/ttyACM0 115200
if screen terminates automatically, you need to change the device file. Consult for example dmesg:
dmesg|grep "USB ACM device"
Ethernet Adapter
first, lets add to our configuration file:
sudo nano /usr/bin/isticktoit_usb

/usr/bin/isticktoit_usb# Add functions here

mkdir -p functions/ecm.usb0

# first byte of address must be even

HOST="48:6f:73:74:50:43" # "HostPC"

SELF="42:61:64:55:53:42" # "BadUSB"

echo $HOST > functions/ecm.usb0/host_addr

echo $SELF > functions/ecm.usb0/dev_addr

ln -s functions/ecm.usb0 configs/c.1/

# End functions

ls /sys/class/udc > UDC

#put this at the very end of the file:

ifconfig usb0 10.0.0.1 netmask 255.255.255.252 up

route add -net default gw 10.0.0.2
Save and exit nano, then head over to your host PC:
When you have problems with the automatic connection (e.g. “Wired Connection 2” on my Thinkpad), disconnect and execute this:
dmesg|grep cdc_ether

[13890.668557] cdc_ether 1-1:1.2 eth0: register 'cdc_ether' at usb-0000:00:14.0-1, CDC Ethernet Device, 48:6f:73:74:50:43

[13890.674117] usbcore: registered new interface driver cdc_ether

[13890.687619] cdc_ether 1-1:1.2 enp0s20u1i2: renamed from eth0
will tell you, how your ethernet adapter is named (and maybe renamed afterwards. Plug the interface name (enp0s20u1i2) into this line:
sudo ifconfig enp0s20u1i2 10.0.0.2 netmask 255.255.255.252 up
Then, connect via ssh to your Pi:
ssh 10.0.0.1 -l pi
Keyboard / Mouse / Joystick (HID)
Firstly, our configuration script.
sudo nano /usr/bin/isticktoit_usb

/usr/bin/isticktoit_usb# Add functions here

mkdir -p functions/hid.usb0

echo 1 > functions/hid.usb0/protocol

echo 1 > functions/hid.usb0/subclass

echo 8 > functions/hid.usb0/report_length

echo -ne \\x05\\x01\\x09\\x06\\xa1\\x01\\x05\\x07\\x19\\xe0\\x29\\xe7\\x15\\x00\\x25\\x01\\x75\\x01\\x95\\x08\\x81\\x02\\x95\\x01\\x75\\x08\\x81\\x03\\x95\\x05\\x75\\x01\\x05\\x08\\x19\\x01\\x29\\x05\\x91\\x02\\x95\\x01\\x75\\x03\\x91\\x03\\x95\\x06\\x75\\x08\\x15\\x00\\x25\\x65\\x05\\x07\\x19\\x00\\x29\\x65\\x81\\x00\\xc0 > functions/hid.usb0/report_desc

ln -s functions/hid.usb0 configs/c.1/

# End functions
The simplest way to send keystrokes is by echoing HID packets to the device file:
sudo su

echo -ne "\0\0\x4\0\0\0\0\0" > /dev/hidg0 #press the A-button

echo -ne "\0\0\0\0\0\0\0\0" > /dev/hidg0 #release all keys
This isn’t practicable however, so head over to my GitHub page and download the code onto your computer.
extract it onto the Pi’s SD card and boot it up. On the Pi:
cd PATH_TO_HARDPASS_REPO

make #compile the program

echo -n "hello world!" | sudo ./scan /dev/hidg0 1 2
the last line will write the piped in string over the HID protocol. The ‘1’ means US-Layout, a ‘2’ in its place would be German/Austrian layout. The second number is for entering characters not available on your keyboard (2=Linux, 3=Windows(but no windows drivers))
Mass storage
Mass storage is somewhat difficult. You cannot share the Pi’s partition with the host computer, but only a disk image file. I created a very small one to store the ethernet host configuration (sudo ifconfig …) on it.
First, lets make a disk. This is quite a long process, so follow this tutorial here. Run those commads (count=1024 describes the size in kilobytes):
dd if=/dev/zero of=~/usbdisk.img bs=1024 count=1024

mkdosfs ~/usbdisk.img
Then, it we go to our configuration again:
sudo nano /usr/bin/isticktoit_usb

/usr/bin/isticktoit_usb# Add functions here

FILE=/home/pi/usbdisk.img

mkdir -p ${FILE/img/d}

# mount -o loop,ro,offset=1048576 -t ext4 $FILE ${FILE/img/d} # FOR OLD WAY OF MAKING THE IMAGE

mount -o loop,ro, -t vfat $FILE ${FILE/img/d}   # FOR IMAGE CREATED WITH DD

mkdir -p functions/mass_storage.usb0

echo 1 > functions/mass_storage.usb0/stall

echo 0 > functions/mass_storage.usb0/lun.0/cdrom

echo 0 > functions/mass_storage.usb0/lun.0/ro

echo 0 > functions/mass_storage.usb0/lun.0/nofua

echo $FILE > functions/mass_storage.usb0/lun.0/file

ln -s functions/mass_storage.usb0 configs/c.1/

# End functions
A FAT32 formatted removable drive should show up, when you plug the Pi into a computer the next time. To get access to the files stored on the disk-image from the Pi, you can unmount it completely (in the host first, then in the pi), and remount it somewhere else.
Others
There are about 20 different USB gadgets the Linux Kernel can emulate. Have a look at the Kernel documentation to find out more!
Links
Tutorial by gbaman
libcomposite in the Kernel documentation
–> hardpass – my PiZero project (Keyboad emulation) <–
–> hardpass – my PiZero project (Password Manager) <–
USBArmory Wiki Page
Revisions
Article Revisions
1.000: Initial article
1.001: Added 'Hi, Hackaday'
1.010: Fixed configuration script ('# Add functions here') (thanks, Hans)
1.011: Fixed and simplified a few things (thanks, Tom)
1.100: Fixed the 'press A-button' example (missing `-ne`) (thanks, Jim)
1.101: Fix s/hid.0/hid.usb0/g (thanks, Callum)
1.110: Update GIT URLs